


-
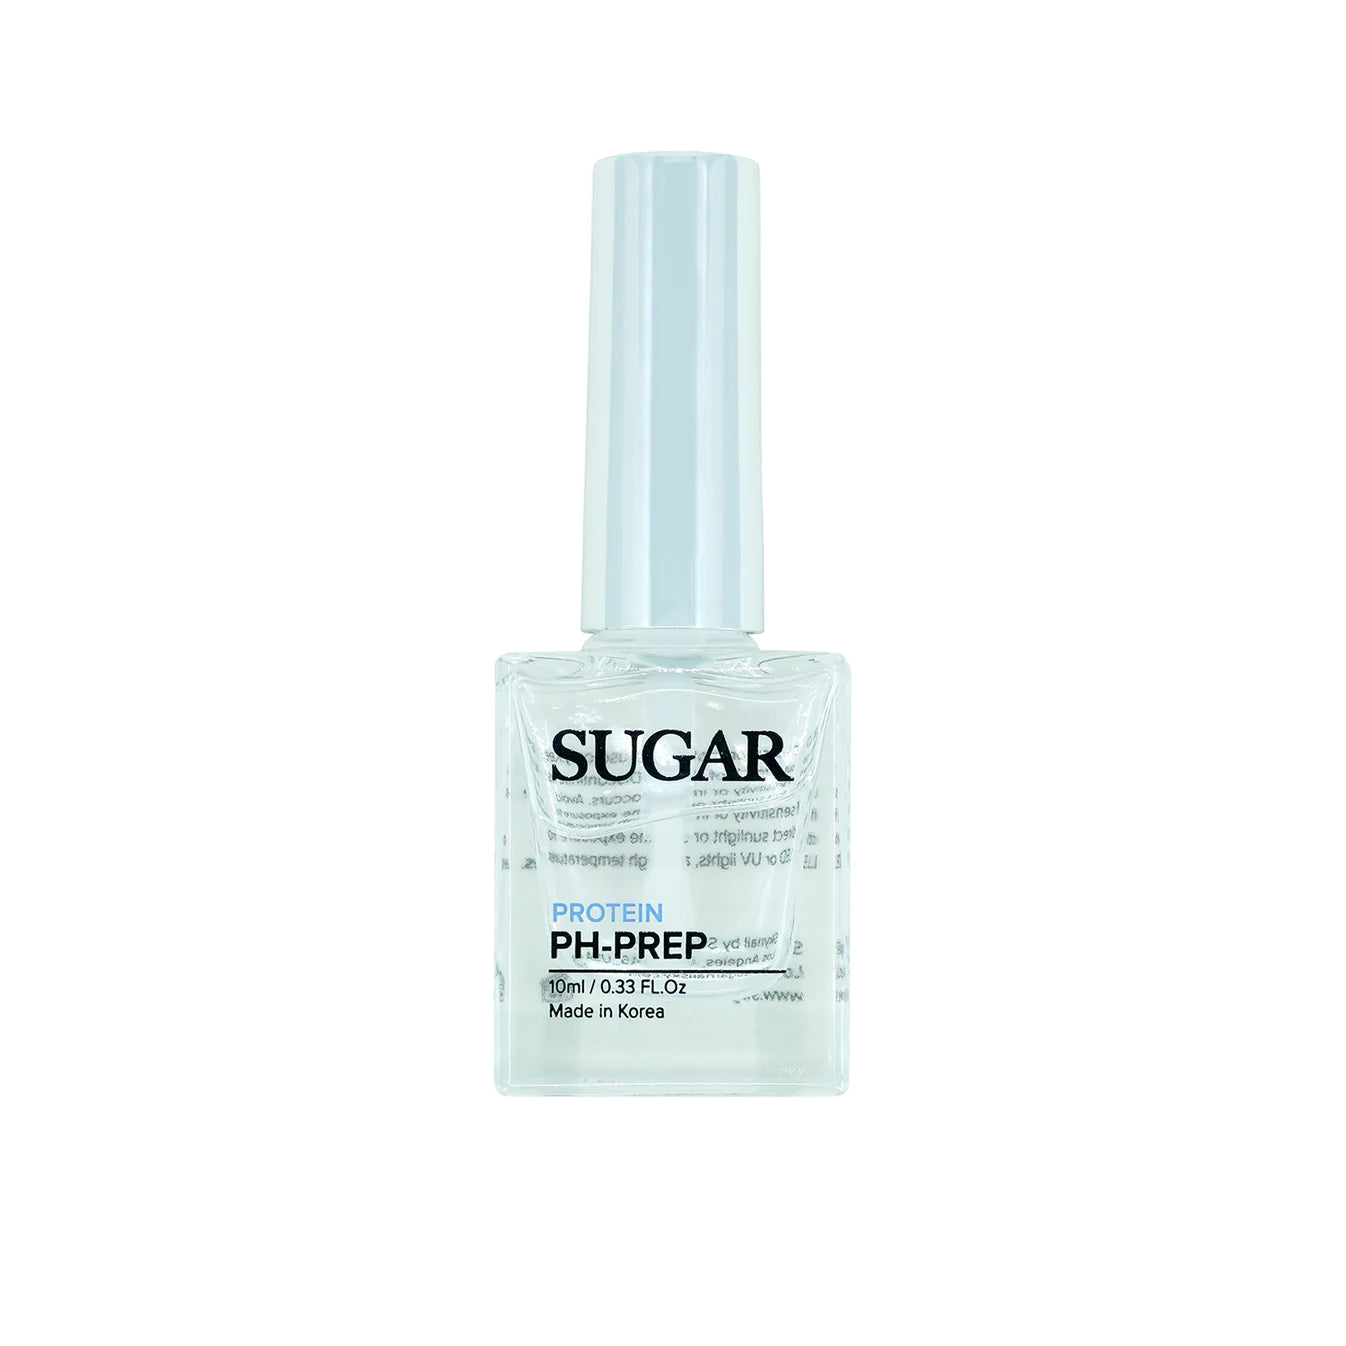
PH PREP
Priming nails to perfection
-
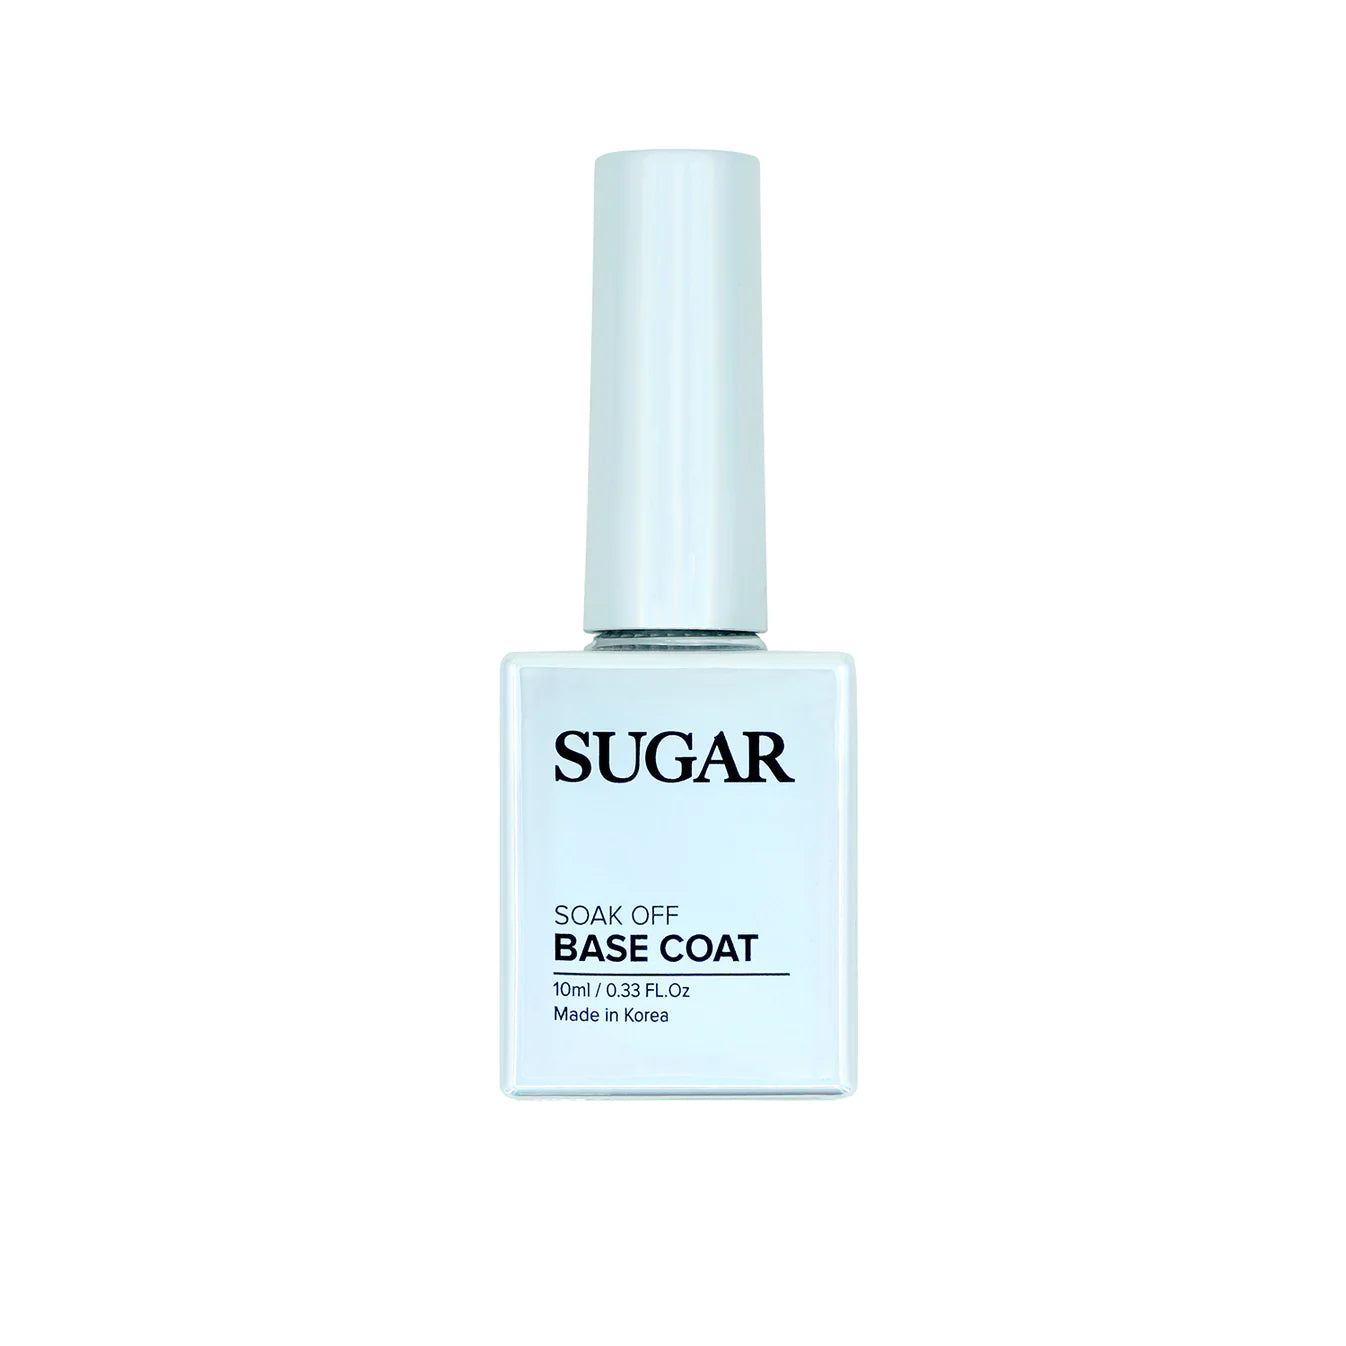
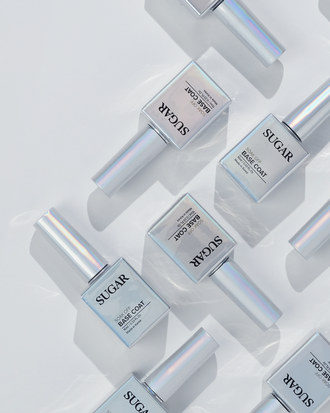
BASE COAT
Foundation for Flawless Nail
-
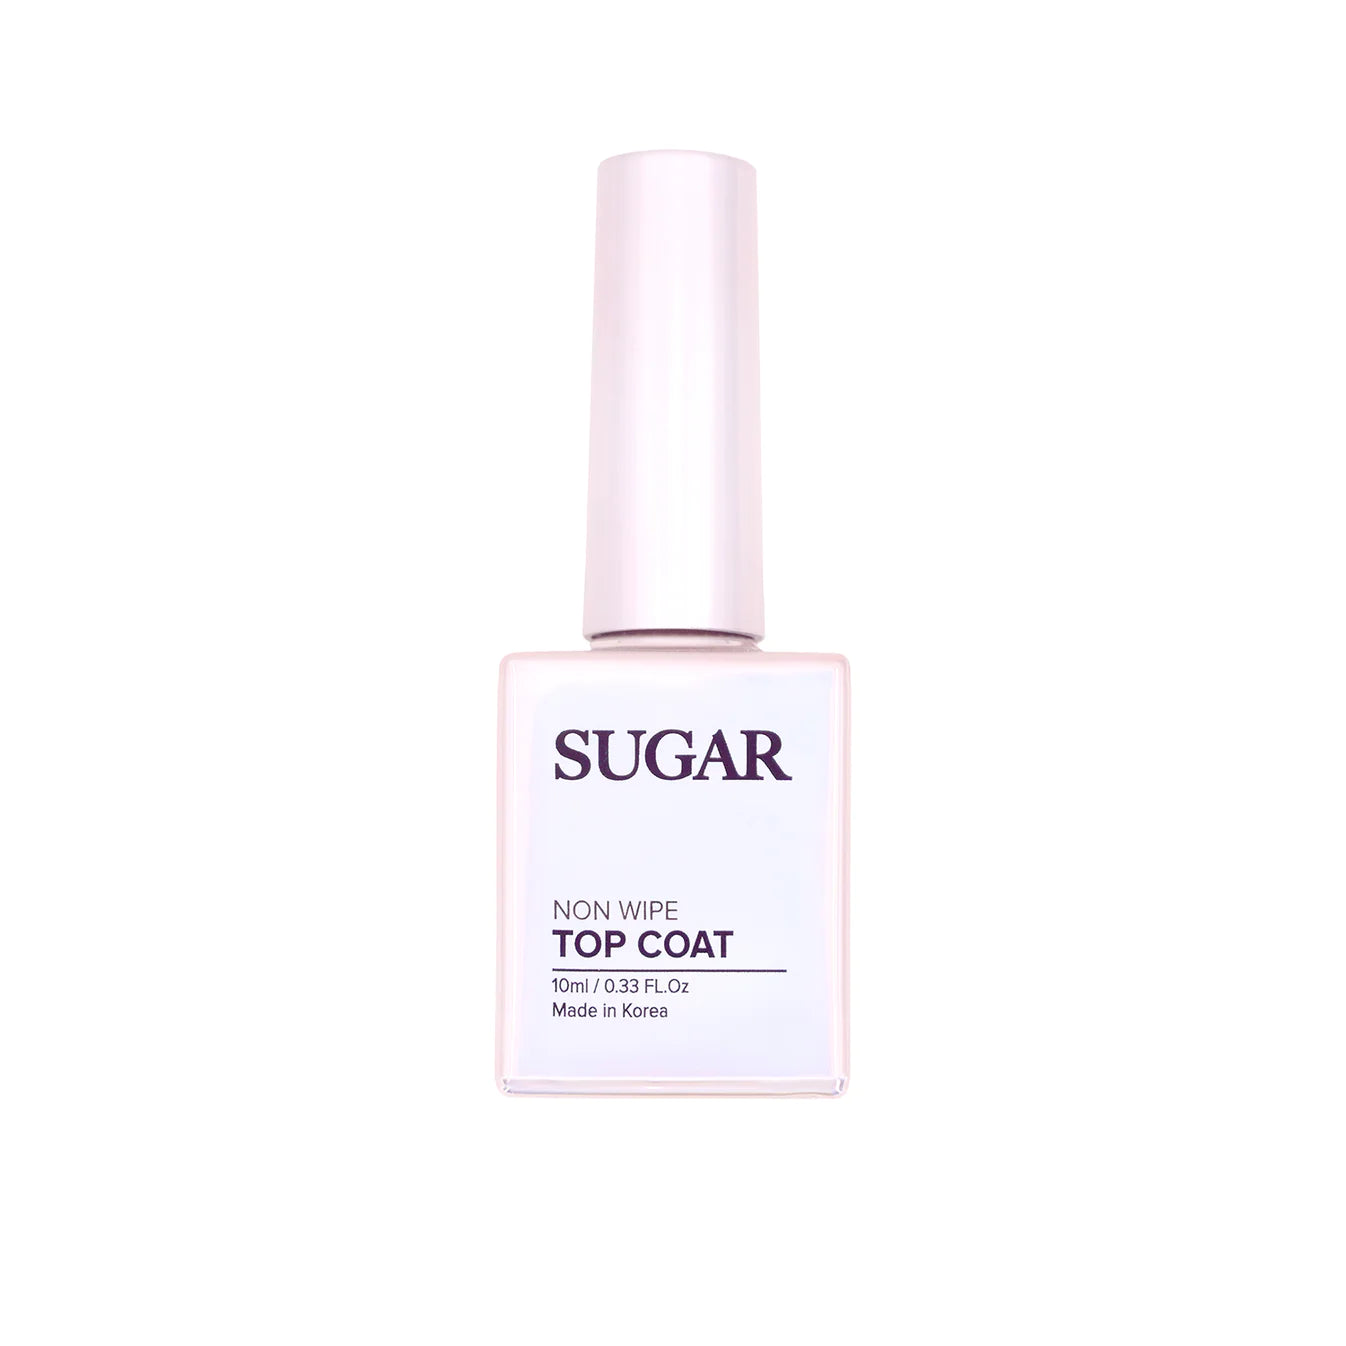
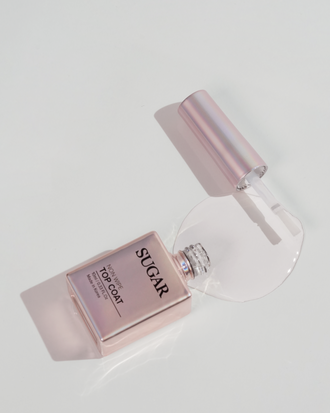
TOP COAT
Sealing Shine and Protection


Get the Perfect Gel Nails at Home: How-To Guide
STEP 1
Start by ensuring your nails are clean and free from any old polish.Use the pH Prep solution included in the kit to gently cleanse your nails and remove any oils or residue. This step helps create the perfect surface for gel adhesion.
STEP 2
Once your nails are prepped, it's time to apply the base coat.Using the included Base Coat, apply a thin, even layer to each nail, making sure to cap the edges for extended wear.Cure the base coat under a UV/LED lamp according to the recommended curing time.
STEP 3
If you're adding color to your gel manicure, apply your chosen gel polish color following the manufacturer's instructions. Remember to cure each layer under the lamp before proceeding.
STEP 4
After applying your desired color (if any), it's time to seal the manicure with the Top Coat.Apply a thin, even layer of the Top Coat to each nail, ensuring full coverage and capping the edges.Cure the Top Coat under the UV/LED lamp for the recommended curing time to set and seal your manicure.
